
The Add Time in Bulk feature in the Time Tracking module is designed for employees and enables bulk time entry for projects.
How to Add Time in Bulk for Projects?
Step 1: Launch the Feature
- Go to Time Tracking > My Timesheet
- In the top right corner, select the + Add button
- Choose the Add Time in Bulk option
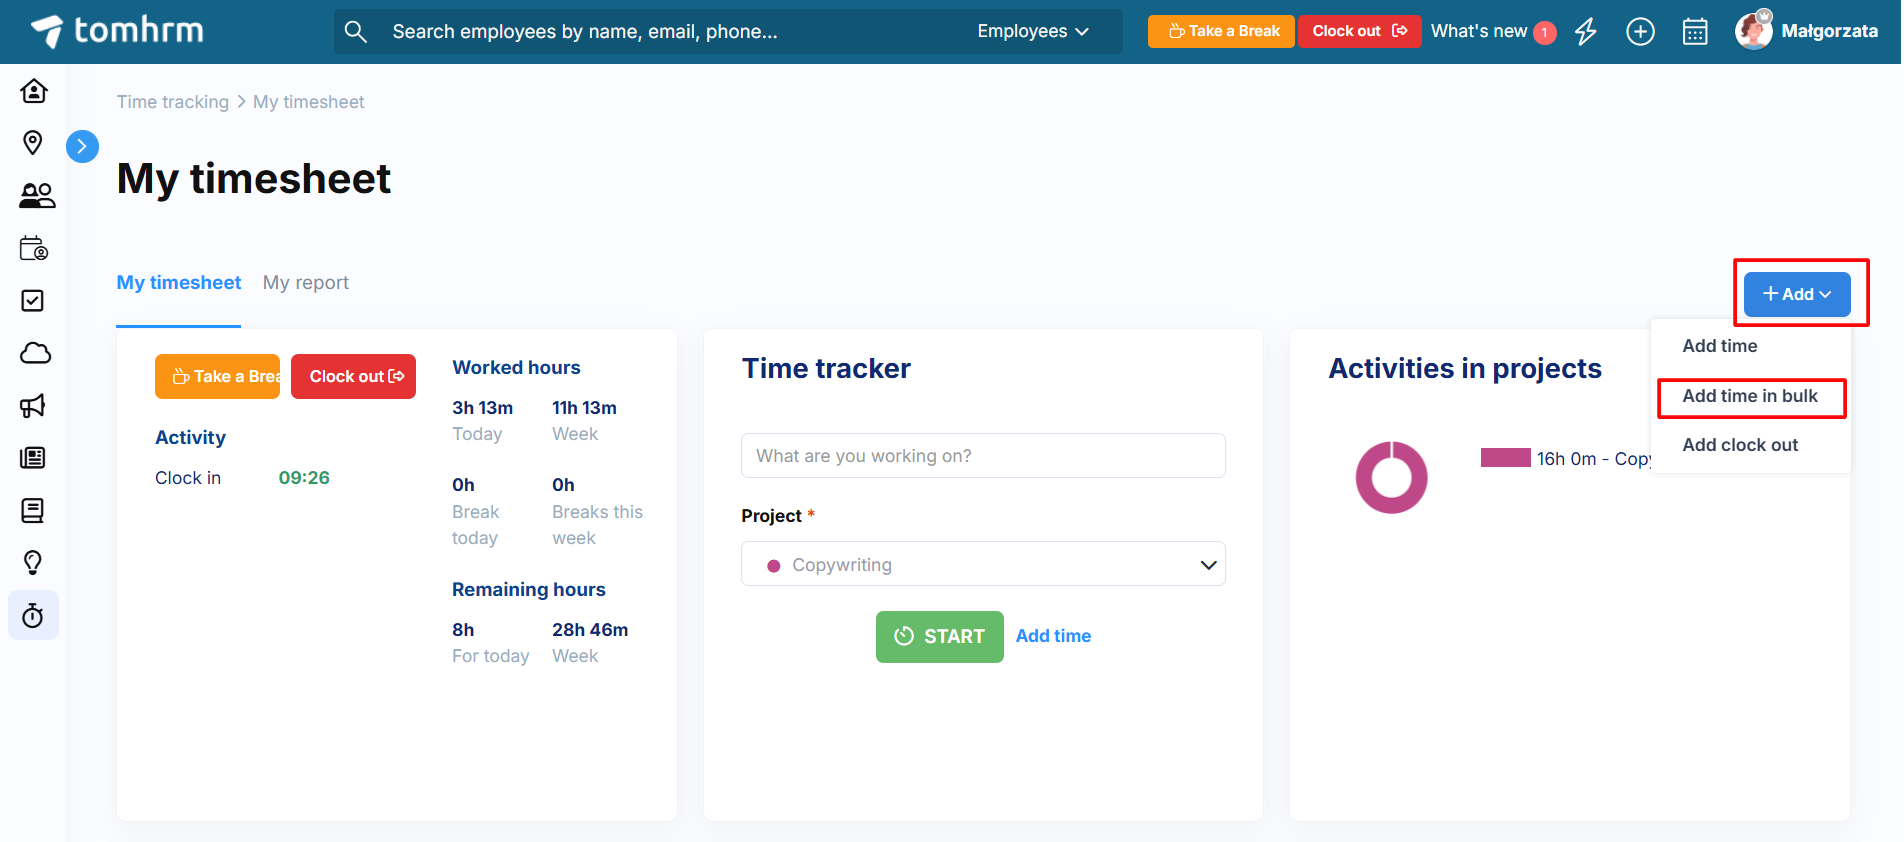
If you cannot see this option, it means you do not have the appropriate permissions and cannot use this feature. If you need it, contact the tomHRM administrator at your company. Most likely, this would be an HR department employee.
Step 2: Select the Date Range for Entries
Enter dates from – to.
Tip: When adding time in bulk and selecting the number of hours or time range format, set the date range excluding weekends and days off from work.
Working time can be added for a maximum of three calendar months backwards or forwards.
Step 3: Select Time Format
From the dropdown list, select the appropriate format:
- Number of hours – allows assigning a specific number of hours (or minutes) of work to specific projects within the given date range. If the date range includes weekends or holidays, the system will enter work on those days as well (there is no mechanism to skip days off from work). It may consider your days off (e.g. leaves) if the administrator has configured the system accordingly. If you are unsure about the settings, choose a time range that includes only the days when you were definitely at work.
- Time range – allows entering a specific time range (e.g. 9:00-17:00) and assigning it to specific projects. If the date range includes weekends or holidays, the system will enter work on those days as well (there is no mechanism to skip days off from work). It may consider your days off (e.g. leaves) if the administrator has configured the system accordingly. If you are unsure about the settings, choose a time range that includes only the days when you were definitely at work.
- Time range according to schedule – adds entries according to the employee’s established work schedule, assigning all working time in the specified period to one specific project. The system will first check whether you have an assigned work schedule for this period. (You can check whether you have an established schedule for a given period in the My Schedule tab if your company uses this module). If so, the system will add entries on days when, according to the schedule, you should work and will skip days that were designated as days off from work. If you do not have an established schedule, the system will retrieve information from your profile. This will be your individual working hours, or your company’s working hours. The system will populate entries on days when, according to the settings, you should work and will skip days that are designated as days off from work. It may consider your days off (e.g. leaves) if the administrator has configured the system accordingly.
Tip: You can check whether you have individual working hours set by going to edit your employee profile.
Remember that if you select the time format:
- Number of hours
- Or time range
And the date range includes weekends or holidays, working time will be added on those days as well, even if you do not formally work on those days.
Step 4: Set Work Duration
- If the time format is number of hours – enter the number of hours worked.
- If the time format is time range – enter the time range in which you worked.
When selecting time range according to schedule, this option does not appear. The system will assign all available working time on given days to one selected project.
Step 5: Project Assignment and Work Description
- In the text field, enter a detailed description of the tasks performed.
- From the dropdown list, select the appropriate project.
- If you are adding working time in number of hours or time range format, you can specify several different projects within the same time range by clicking Add Row.
Exception – if you select Time range according to schedule in the Time format option, you can only add bulk working time to one project.
If you are adding time to several projects simultaneously using the Add Row option, the task description will be duplicated in each project.
Tip: During bulk time entry, you cannot select a specific task within a project. If you need to add working time to a specific task in a project, choose the individual time entry option or, after adding bulk working time, go to the “My Report” view and edit each entry to add the specific task.
Step 6: Verification and Save
- Review all entered data – ensure that all information is correct
- Click the Save button to confirm the bulk time entry
Saved data cannot be undone. If you make a mistake, you can delete each entry manually.